
The Secret Language of Your Oil Filter: What Pleats Analysis Reveals About Your Engine’s Inner Workings
The Driving Situation & The Big Question
Every time you bring your car in for an oil change, a crucial component is replaced: the oil filter. Most drivers observe the old, grimy canister being swapped for a shiny new one and think little more of it. Perhaps an engine light illuminates months later, or an unfamiliar noise starts, leading to costly diagnostic fees. What if the discarded oil filter held a secret message, an early warning sign that could have saved you thousands in repairs? The big question that often goes unasked is: “When my mechanic changes my oil filter, what exactly should I be looking for inside its pleats, and what can those findings tell me about my engine’s true health?” Ignoring the potential insights hidden within a used oil filter means missing critical clues about engine wear, contamination, and impending failures, leaving your engine vulnerable and potentially leading to premature breakdown and significant financial impact.
What Happens Inside the Engine
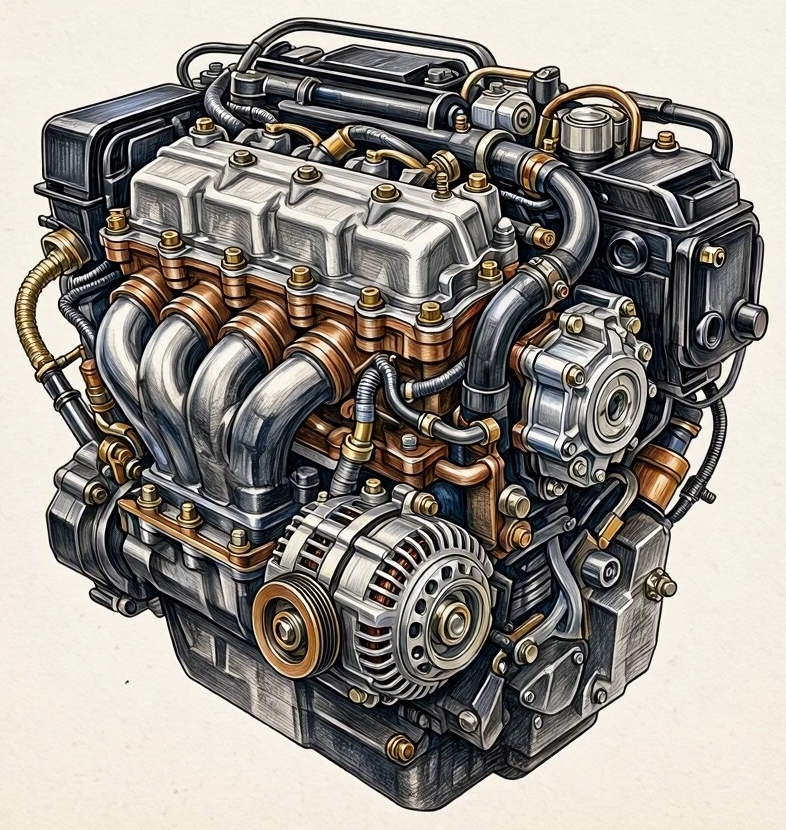
Inside your internal combustion engine, a precise ballet of mechanical forces creates immense heat and friction. Engine oil is the lifeblood, lubricating critical moving parts like pistons, crankshaft bearings, camshafts, and valves. As the oil circulates, it inevitably picks up contaminants. These aren’t just dirt and dust that bypass your air filter; they include microscopic metal particles shed from normal wear and tear, carbon deposits from the combustion process, and even debris from seals or gaskets. The oil filter’s primary mission is to capture these harmful particles before they can recirculate and cause further damage. The filter media, often made of cellulose or synthetic fibers, is pleated to maximize surface area, allowing it to trap an astonishing amount of debris. When the oil is effectively filtered, wear on critical components is minimized, heat is managed, and the engine functions optimally. However, if the filter becomes clogged or if contaminated oil is allowed to circulate, these abrasive particles act like sandpaper, grinding down finely machined surfaces, accelerating wear on bearings, piston rings, and cylinder walls. This increased friction generates more heat, breaks down the oil’s protective film, and ultimately shortens the lifespan of every moving part, including highly sensitive components like turbocharger bearings, which rely heavily on pristine oil flow.
Common Mistakes & Hidden Risks
- Typical Error: The most common mistake car owners (and even some hurried mechanics) make is to simply discard the old oil filter without any inspection. Even if the filter is cut open, many only look for large, obvious chunks of metal, assuming that the absence of such visible debris means the engine is perfectly healthy. Another error is dismissing any dark material within the pleats as “just dirty oil,” failing to recognize specific types of contamination.
- Hidden Consequences: Ignoring the subtle signs within your oil filter can have devastating long-term hidden consequences. Missing microscopic metallic glitter, for instance, could indicate accelerated bearing wear that, if caught early, might be addressed with less invasive (and expensive) repairs. Overlooking excessive carbon buildup might signal piston ring issues or incomplete combustion, leading to reduced fuel efficiency and eventual catalyst damage. Milky, discolored residue can be a tell-tale sign of coolant leaking into the oil, often pointing to a failing head gasket or oil cooler, which, if unaddressed, can lead to catastrophic engine failure through hydro-locking or complete lubrication breakdown. Ultimately, these overlooked early warnings transform into gradual mechanical damage, sludge accumulation, component deformation, and unexpected, hefty repair bills that could have been avoided with a simple, informed inspection.
Operational Nuances to Consider
The story your oil filter tells can vary significantly depending on your engine’s design and operating conditions. For instance, diesel engines inherently produce more soot and carbon during combustion, so their oil filters will naturally appear much darker and accumulate more black, gritty material compared to a gasoline engine filter. While carbon is expected, diesel owners should still be vigilant for metallic particles, which are just as critical. Gasoline engines, on the other hand, might show more signs of fuel dilution if injectors are failing or if the engine experiences excessive short trips without reaching full operating temperature, sometimes appearing as a less viscous, fuel-smelling residue in the filter media.
Temperature extremes also play a role: in sub-zero winter temperatures, cold starts can lead to increased initial wear as oil takes longer to circulate and reach optimal viscosity, potentially leading to a higher concentration of wear particles in the filter during the first few thousand miles. Conversely, extreme summer heat can accelerate oil degradation and create more thermal stress on engine components, leading to a different profile of particulate matter. Modern downsized and turbocharged engines are a unique case. Operating at higher temperatures and pressures, and with turbochargers spinning at hundreds of thousands of RPMs, these engines are exceptionally sensitive to oil quality and contamination. Even minute particles can cause significant damage to delicate turbocharger bearings. Furthermore, direct injection gasoline engines can produce more carbon deposits on intake valves, indirectly increasing the particulate load on the oil filter. Using the correct, high-quality synthetic oil and an OEM-specified filter is paramount for these high-performance, high-stress powerplants.
Smart Driving Recommendations
Empowering yourself with the ability to “read” your oil filter is a powerful step towards proactive engine maintenance. Here’s a clear, actionable guide:
- Periodicity is Key: While you don’t need to cut open every filter, consider performing a full pleats analysis at least once a year, or every 2-3 oil changes, especially if your vehicle has higher mileage or you suspect an issue.
- Invest in the Right Tool: A specialized oil filter cutter (not a can opener or hacksaw) is essential. These tools create a clean, precise cut around the filter’s circumference, allowing you to remove the media without introducing new debris or distorting the housing, which could obscure findings.
- The Inspection Process:
- Remove and Drain: After removing the old filter, allow it to drain thoroughly to reduce mess.
- Cut Carefully: Use your filter cutter to cleanly slice open the metal canister.
- Extract the Media: Carefully pull out the filter media, usually an accordion-folded paper or synthetic element.
- Unfurl the Pleats: Gently unfold the pleats to expose the entire filtration surface. A magnifying glass and good lighting are your best friends here.
- What to Look For (and What it Means):
- Fine Metallic Glitter: A very small amount of fine, almost iridescent glitter is generally normal, especially in newer engines as components wear in. However, an abundance or visible flakes are cause for concern.
- Coarser Metallic Flakes/Shavings: This is a red flag. Identify the material:
- Aluminum (silvery): Often indicates accelerated bearing wear (main, rod, or cam bearings).
- Steel (dark gray/black): Could be crankshaft, camshaft, or gear wear.
- Brass/Bronze (yellowish/gold): Points to bushing wear (e.g., turbocharger bushings).
- Dark, Gritty Material (Carbon/Soot): Normal to some extent, especially in diesel engines. Excessive amounts, however, might indicate extended oil change intervals, rich fuel mixture, piston ring issues, or excessive idling.
- Sludge or Tarry Deposits: These indicate severe oil breakdown, often due to infrequent oil changes, poor quality oil, or excessive short-trip driving that prevents the engine from reaching full operating temperature.
- Milky, Greenish, or Sweet-Smelling Residue: This is a critical warning sign of coolant contamination, most likely from a failing head gasket, cracked block/head, or a leaking oil cooler. This requires immediate professional diagnosis.
- Rubber or Plastic Bits: May indicate degrading seals, O-rings, or other non-metallic components within the engine.
- Paper-like Bits: If the filter media itself is breaking down, you have a defective or poor-quality filter that isn’t doing its job effectively.
- Actionable Steps Post-Analysis:
- If you find anything concerning (especially visible metallic flakes or coolant contamination), save the filter media in a sealed bag, take clear photos, and immediately consult a trusted automotive engineer or mechanic.
- Consider a professional oil analysis (sending a sample of your used oil to a lab). This provides a precise breakdown of wear metals, contaminants, and oil condition, giving definitive insights.
- Always replace your oil filter with a high-quality filter that meets or exceeds your vehicle manufacturer’s specifications. Don’t compromise on this critical component.
- Strictly adhere to your vehicle’s recommended oil change intervals, and adjust them for severe driving conditions (towing, extreme temperatures, dusty environments, frequent short trips).
By taking the time to understand the messages in your oil filter’s pleats, you transform a simple maintenance task into a powerful diagnostic tool, safeguarding your engine’s longevity and your peace of mind.